Follow the steps below to energize your new Tesla System!

STEP 1
*If you have a new solar system installed, please be sure to complete the activation process for the solar before activating your backup storage.
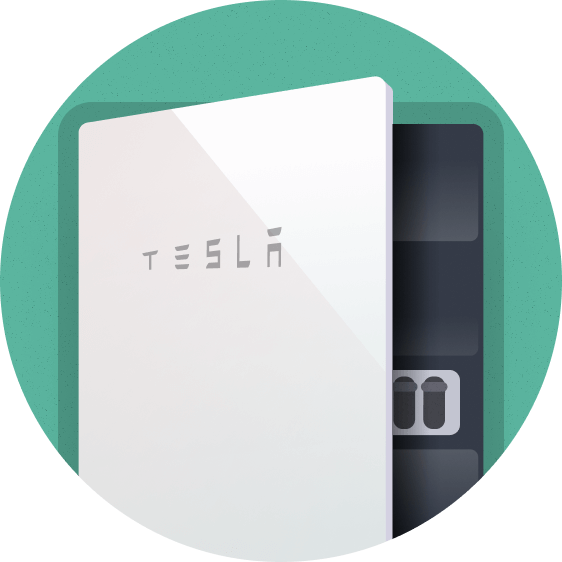
Open the door to your Tesla Backup Gateway. You will see breakers within this panel on the left. These power your Powerwall(s) and your Solar. Please be sure to switch these to the ON position.
STEP 2
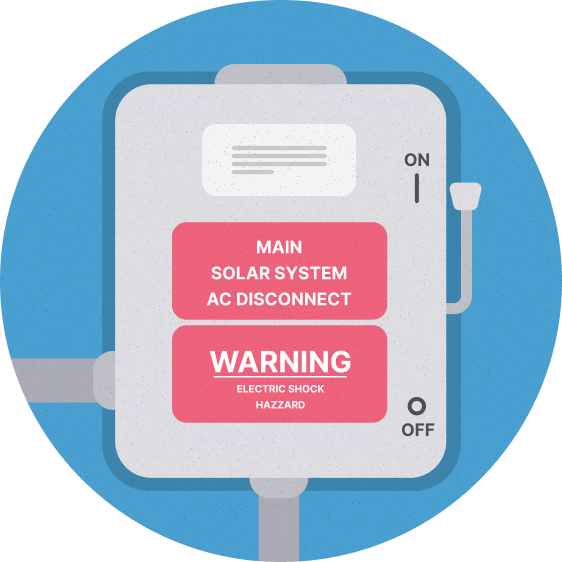
An A/C Disconnect is attached to each Powerwall. This is a smaller box with a handle on the right-hand side that moves between ON and OFF. Please flip this handle to the upward and ON position.
STEP 3
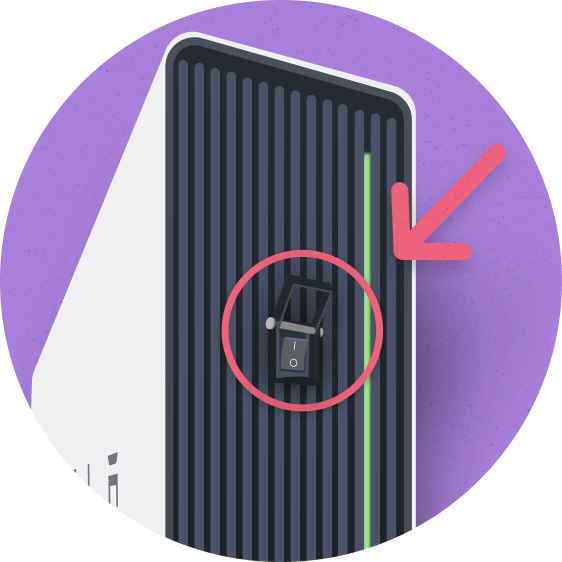
On the right-hand side of each Powerwall, you will see a small enable switch. Please turn this to the “I” or ON position. You will see a green bar illuminate on the same side of the Powerwall as the enable switch, indicating the start-up process.


STEP 5
Use the Tesla app to follow your energy production in real time. Real-time monitoring will be available in your Tesla app within one hour of turning on your system.
Please visit the link below for additional information regarding your Tesla System and your monitoring.
https://www.tesla.com/support/energy/solar-panels/after-installation/monitoring-your-system